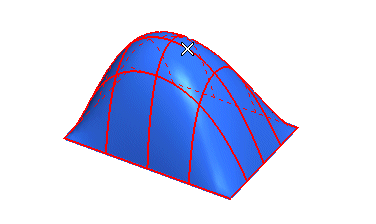
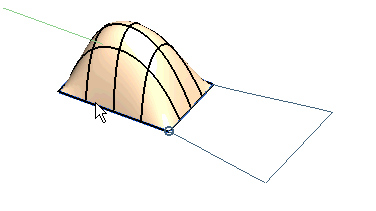
If the surface can be developed along both its parametric directions — like the one in this example —, an arrow will display one of the two possible development directions.
- When the box is cleared, the surface will be developed along the direction that is not displayed by the arrow:
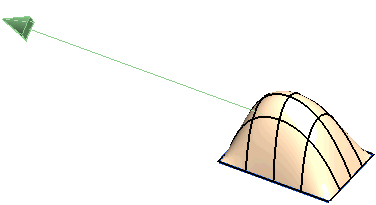
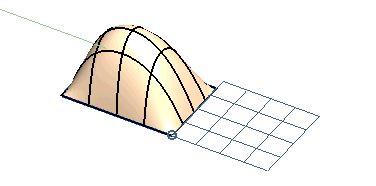
- When the box is checked, the surface will be developed along the direction shown by the arrow:
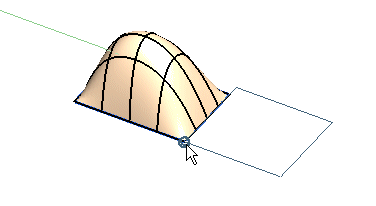
- When the box is checked, the surface will be created.
- When the box is cleared, the surface will not be created.
 or
or  to confirm your selections and create the surface.
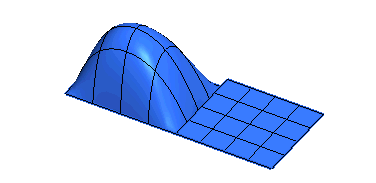
Click
 to discard your changes.