Creating a Proportional Surface with Orientation Along the Work Plane
- Open the file "sr_01_10.e3".
The following steps will show you how to obtain a surface with a regular shape. You will see how applying a few simple options to the Work Plane can make the construction of a complex surface very easy.
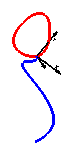
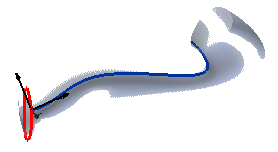
So, in order to use the blue curve as the drive curve and the red one as the boundary, you'll first have to position the Work Plane reference system in such a way as to avoid as many twists as possible.
- Select the Edit
 Work PlaneThrough 3 Points command.
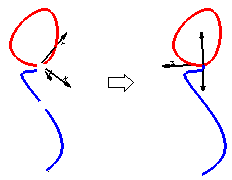
- First select the two endpoints of the blue curve, and then its midpoint. The Work Plane will be positioned as in the following illustration:
- Select the InsertSurfaceLoftedProportional command.
- Select the blue curve as the drive curve. Right-click and select Continue.
- Select the red curve as the boundary curve. Right-click again and select Continue.

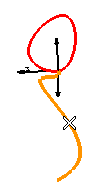
- In the Orientation drop-down list, under More Options, select Along Work Plane. The following preview is displayed:
- Select
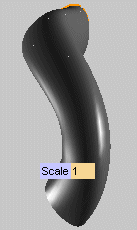
 to create the surface:

Tips and Tricks