Creating a Plane through three points

Creating a plane through three points can be useful in a number of situations. For example, you might need to create a particular section of a solid, which you know the center and two through points of. You can obtain the section by creating a plane through the three said points and then by cutting the solid along the plane using the Cut Solid command.

Once you started the Plane command, proceed as follows:
 
1 In the Reference Plane drop-down list select 3 Points

2 Select three points:
  • The first identifies the center of the plane
  • The second identifies (starting from the first) the X axis of the plane
  • The third is a through point not aligned with the previous two


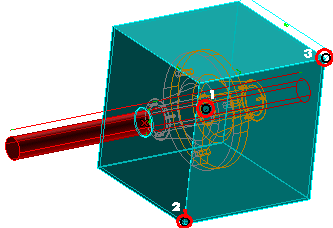
To change the selected points, right-click on 3 Points in the selection list, select Reset in the context menu and perform selection again.

3 In the More conditions drop-down list, select None (if it isn't already selected).

4 In the Extension drop-down list, select Object. To adjust the plane size to the one of the solid, select the solid:


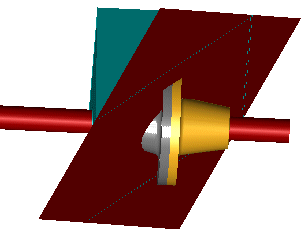
The following preview of the plane is displayed:


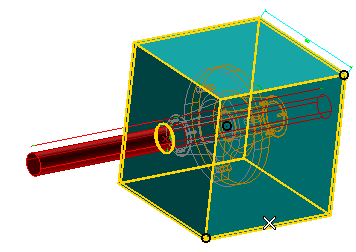
To change the selected solid, right-click on Solid in the selection list, select Reset in the context menu and perform selection again.
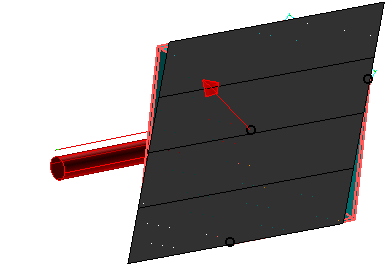
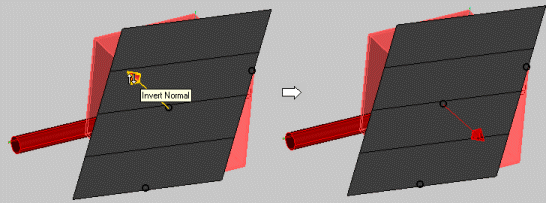
The arrow indicates the plane normal. If necessary, reverse its direction by double-clicking on it:

5 Click or to confirm your selections and create the plane.


Click to discard your changes.

With a plane surface created with this method, cutting the solid with the Cut Solid command to get the desired section is very easy:


Tips and Tricks