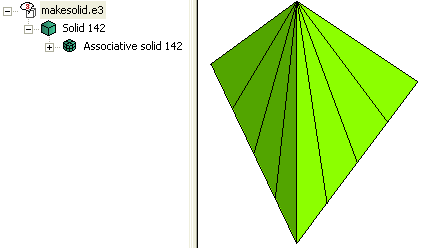
Making a solid
To accomplish this task, open the makesolid.e3 file available in the Samples folder of your think3 installation and follow the steps given below.
- Start the command; it enables you to create solids from selected surfaces, which become the faces of the resulting solid.
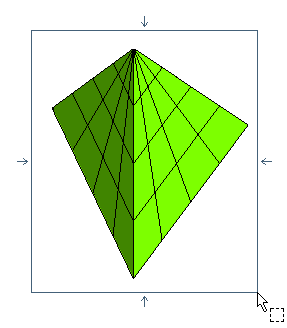
- On starting the command, you are prompted to select the surfaces or solids. You can perform a window selection as shown in the figure below.
- Optionally, to retain links to the component surfaces, so that if you modify a component surface the solid will be modified accordingly, select the Associative Mode check box.
- Optionally, you can also select the Simplify Faces check box, so that one single planar surface is created from each group of different planar surfaces having coplanar and in positional continuity.
- Click
 or
or  to confirm your selections and create the solid. If the resulting solid is closed, it is immediately created.
However, for our model, the resulting solid is not closed, and hence, the following warning is displayed.
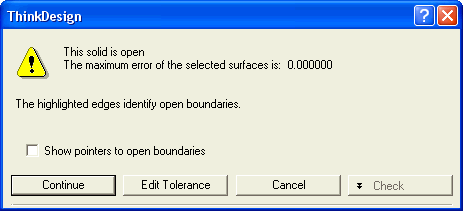
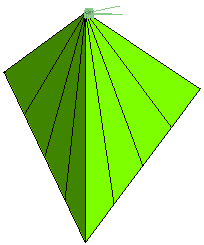
If you select Continue, an open solid will be created. On selecting the Show pointers to open boundaries check box, the open boundaries will be highlighted in the model as shown in the figure below.
However, for the purpose of this tutorial, select Edit Tolerance, so that you can try to obtain a closed solid by supplying a higher tolerance value. The Check Degenerate Edges and Automatic Mode check boxes will be displayed in the selection list; click here to know more about them.
- Enter a tolerance value of 0.5 for the Tolerance mini-dialog box. The following warning message appears.
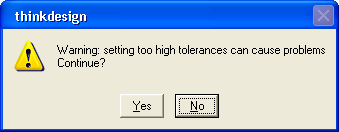
Click Yes to continue with the high tolerance value.
- Click or to confirm your selections and create the solid. An associative solid is created as shown in the figure below.