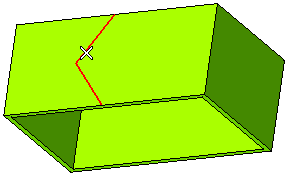
Creating a rip along a profile lying on the face of a solid

To accomplish this, task, load file "SketchedRip.e3".
 
1 After starting the Sketched Rip command, select Profile for Rip by. Select the profile as show in the figure.


To change the profile, right-click on Rip By, choose Reset in the context menu and select another profile.
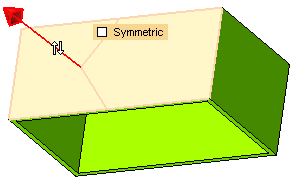
2 The Face will be automatically selected. Make sure that the arrow is selected as shown in the figure.


3 Click Local Properties, unlock Gap and enter 0.5 mm. Click More Options and check Propagate to adjacent faces. This option is checked, if you need the rip to propagate to adjacent faces.

4 Click or to confirm your selections and create the rip.
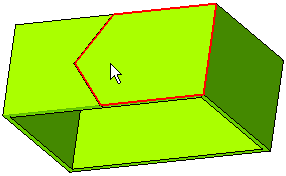


Note
In the Model Structure, the Sketched Rip is displayed along with the profile.

Click to discard your changes.