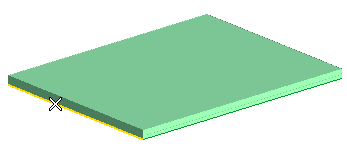
A preview of the flange is immediately displayed:
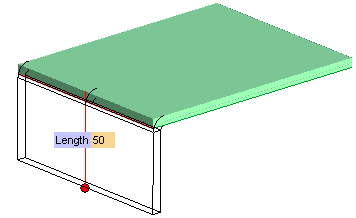
To change the selected edge, right-click on Edge, select Reset in the context menu and select another edge.
- Select the Offset check box in the selection list
- In the Offset mini-dialog box, type the desired offset value, or drag the corresponding red handle.
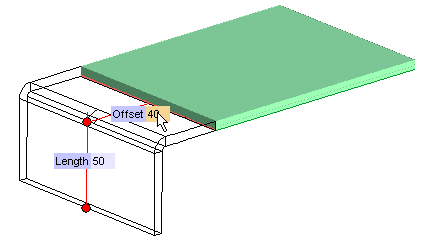
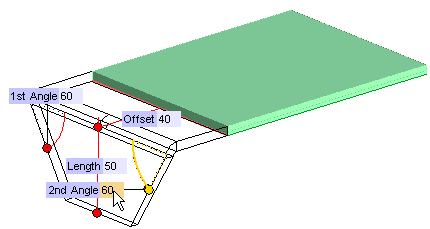
- Click on More Options in the selection list
- Select the Side Angles check box
- In the 1st Angle and 2nd Angle mini-dialog boxes type the desired values, or drag the corresponding red handles
- Select the Orientation check box
- In the Angle mini-dialog box, type the desired value of the angle, or drag the corresponding handle.
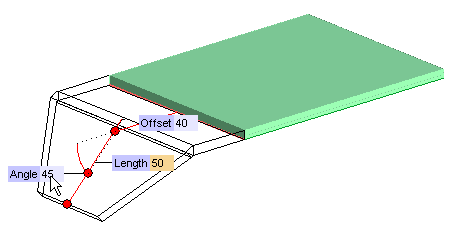
- Select the Extension check box
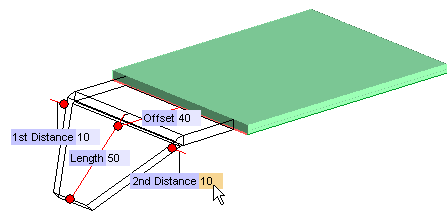
- In the adjacent drop-down list, select the 1st Distance + 2nd Distance option
- In the 1st Distance mini-dialog box, type the distance from the first end point of the selected edge, or drag the corresponding handle.
- In the 2nd Distance mini-dialog box, type the distance from the second end point of the selected edge, or drag the corresponding handle.
 or
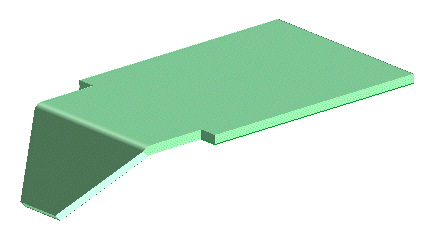
or  to confirm your selections and create the flange.
Click
 to discard your changes.