| Base center | The point you specify will be the center of the parallelepiped base. |
| Base vertex | The point you specify will be one vertex of the parallelepiped base. |
| Center of mass | The point you specify will be the center of mass of the parallelepiped. |
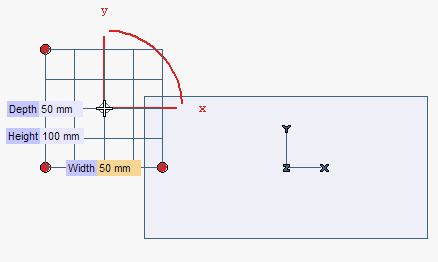
At any time during the creation of the parallelepiped, you can:
- Change the position of the placement point just by clicking in a different position.
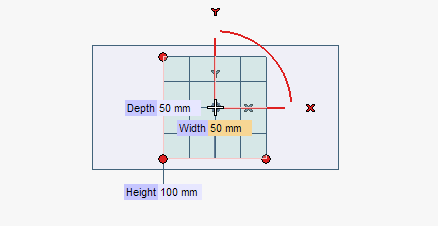
- Change the orientation of the parallelepiped. The three arcs represent the three angles of rotation (about each of the three orthogonal directions). You can rotate the parallelepiped about an axis by dragging the corresponding arc or by typing the value of the rotation into the
Angle box which shows up when you pick the arc.
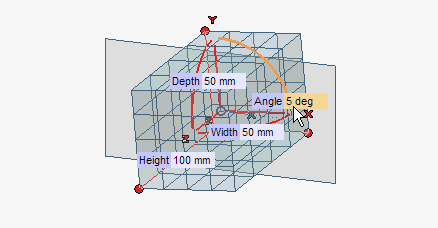
You can also use the X Axis, Y Axis, Z Axisdrop-down lists under Axis Alignment:Line to align the axis to a line. Select the line. 2 points to align the axis to the direction identified by the two points. Select the two points. End point to align the axis so that its second endpoint coincides with a point. Select the point.
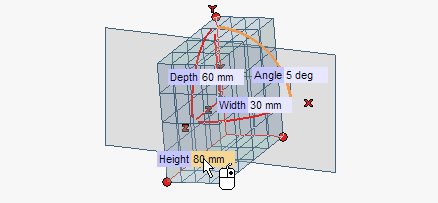
By double-clicking on the corresponding red circle markers, you can also invert the direction of the parallelepiped edges.
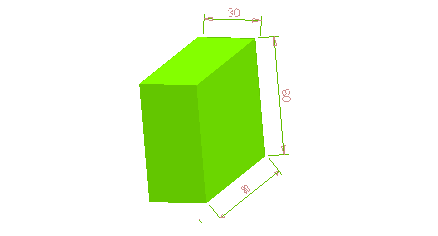
- When the box is checked, the resulting entity will be a parametric solid. A drive dimension will be associated with the length of each of the three parallelepiped edges (width, height and depth) and the icon of a solid will be displayed in the Model Structure.
- When the box is cleared, the final result will be the six surfaces composing the shape.
 or
or  to confirm your selections and actually create the solid.
Click
 to discard your changes.