

Insert MoldDesign
 Project
The Mold Project command enables you to perform the initial step of creating the project files required for mold design, by using the original mold part.
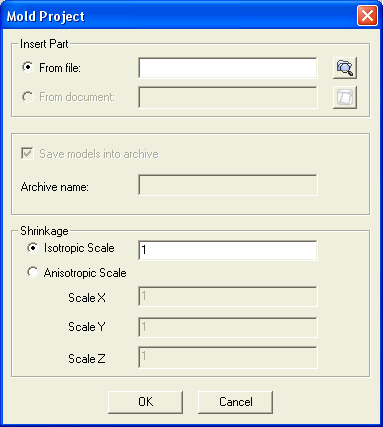
On starting the command the Mold Project dialog box is displayed as shown in the image below.

| Note The From document:, Save models into archive and Archive name: options are active only when thinkteam is installed. |
The options under the Insert Part area enables you to browse the *.e3 file of the part for which the mold is to be designed. There are two radio buttons available:
The location of the created project files depends upon whether thinkteam is installed or not. Also the setting of options in the Mold Project dialog box defines the location for the project file creation. For detailed explanation refer to the tutorials.
The Save models into archive check box is used to optionally load the created files into the document archive of thinkteam.
The Archive name: text box is used to name the folder which is to be created in the document archive.
The Shrink part area: enables you to specify the scaling factor. The scaling is given to negate the shrinkage involved in the molding. The following two radio buttons are available under the Shrink part area.
Note
|