

Insert Curve
Curve Free Hand on Surface
The Insert Free Hand Curve on Surface command (  ) enables you to quickly and easily sketch one or more curves on selected surfaces or solid faces. The resulting curves will be of the Curve on Surface type (from now on: COS). You can proceed as follows.
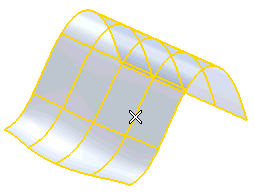
Once the command has been started, select the surface(s) you want your curve to lie on.

Once the surfaces are selected, right-click and select Continue. Now you can start sketching.
By default, the resulting curve is a COS and its maximum degree can be 7. The latter can be defined under More Options through the Degree box:
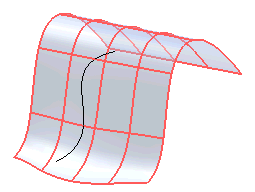
When you start sketching, as soon as the pen touches the tablet, the cursor disappears. When you start moving the pen on the tablet, the curve shows up. To stop sketching, move the pen away from the tablet.

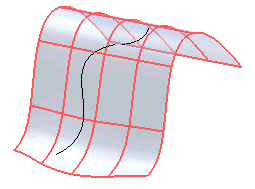
At this point, you can confirm the creation of the sketched curve or modify it with a second "stroke". In fact, you can sketch again on top of the first curve; the second stroke preview shows up:

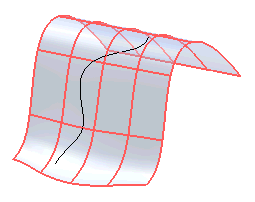
If the distance between the second stroke sketch and the first is small enough, when you release the pen at the final end point of the second stroke sketch the whole preview will be modified (otherwise it will be ignored):

You can iterate this process as many times as you like.
A local Undo button (  ) shows up on top of the selection list after your first stroke and is then available to undo each stroke. Similarly, a
Redo button (
  ) becomes available to redo undone strokes.
Please note that by using a specific feature of the Wacom® pen — that is, by turning it upside-down — , the command also enables you to delete entire curves or portions of the sketched curves. A balloon cursor is displayed to warn you have entered the erase mode. Please note that the higher the pressure of the pen onto the tablet, the larger the area that will be deleted and the bigger the balloon that will be displayed.
The local Undo and
Redo buttons are available also to undo/redo erasures.
Warnings and Notes
|