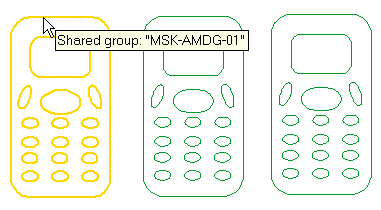
Locally editing a Shared Group

1 To start the Start Local Edit command, first position the cursor onto one of the instances of the shared group you want to modify.


Now, right-click and select Start Local Edit in the context menu.

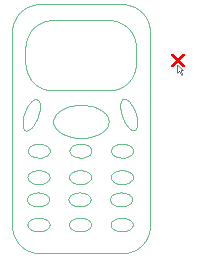
2 An editing session is started for the selected shared group. The group is zoomed and the background color changes.


Modify the group as you like (you can edit, add and remove entities). When you're done, double-click on an empty area to quit the command:


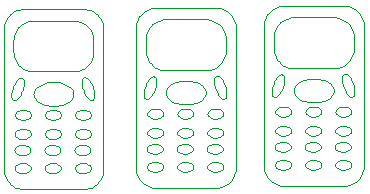
The changes you made on the selected instance will immediately be applied to all the existing instances of the shared group:
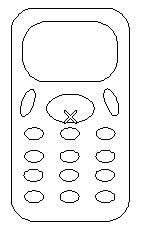
3 If the selected shared group was an X-Reference, when you close the drawing you will be asked whether you want to save your changes to the shared group file. Answer Yes to modify the group definition in its own file: next time you load the drawing you will see the group modified according to your changes.