Inserting a Group from a Library into your Drawing
After opening the Group Library by starting the Group Library command, you can insert a group — no matter whether shared or not — into your drawing in two different ways:
 |
About shared groups |
Please note that when you insert a shared group from the library into a drawing, the group positioned in the drawing is either a local group or an X-Reference depending on whether the currently selected option in the Shared group drag&drop area of the Drawing category of the System Options is Local or X-Reference.
|
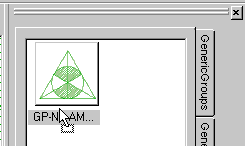
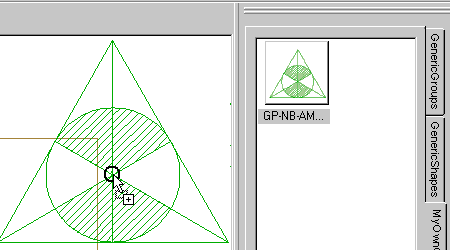
Dragging and Dropping a group from the library into the drawing
To load a group dragging it from the Group Library window and dropping into the drawing:
- Select the group inside the Group Library

- Drag it into the drawing
- Drop it into the drawing in the desired position.

Loading a group from the Library using the Insert command
To load a group using the Insert command, do the following:
| 1 |
Right-click on the group in the Group Library and select Insert in the context menu. |
| 2 |
The group is displayed in the drawing, with its origin point attached to the cursor. |
| 3 |
To rotate and/or scale the group when positioning it, select More Options. In the Rotate and Scale drop-down lists, select the methods to be used:
| By value |
Typing the corresponding numeric values into the Scale (this is a multiplying factor; so scale>1 enlarges the object, scale<1 reduces it) and Angle mini-dialog boxes respectively |
| Through 2 points |
Entering two points. Once you have entered the first point, the angle/scale changes interactively as the cursor moves: once you get the desired angle/scale, click to enter the second point. |
|
| 4 |
Position the group, and then click to insert it. |


