| Determining primary and derived views
You can move the cursor over a predefined view in the graphic preview area to determine whether a particular view is a primary view or is derived from another view. A dashed rectangle appears along with a label indicating the type of view. If the selected view is a derived view, the program also displays a dashed line extending from the center of the selected view to the center of the view from which it is derived. |
- Click the Change View Orientation button within the dialog box, and then select the view.
- Click in the preview area to select the view you want to redefine, and then click the Change View Orientation button within the dialog box.
|
If the view that you choose to reorient is a derived view, a dialog box is displayed alerting you that any change you make will also influence the primary view from which it was derived. |
The selected view is immediately displayed in a new dialog box which enables you to change the view orientation of the model. After changing the orientation of the view, click OK to return to the Layout Configuration dialog box, which updates to reflect the new view orientation.
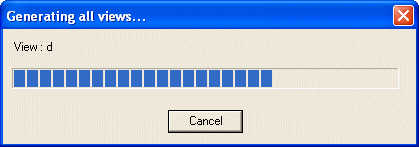
The image below shows the Generating all views dialog box:

| Providing document data for the Title Block If you included a Drawing Frame and Title Block and selected the Ask for document data for title block option, the program displays the Document Properties dialog box so that you can enter the document name, description, and comments. Note: This information appears in the Title Block and is also associated to the drawing itself, that is the 2D document including the complete layout and the Title Block. |
 Changing the orientation of a derived view