To accomplish this task load file "pattern_curve_based.e3".
| 1 |
Click to select the feature that you want to copy.
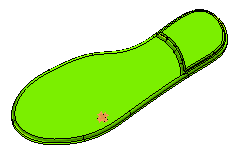
Make sure that you select both the fillet and the linear protrusion. To change the selected feature, right-click on Base Entities in the selection list, choose
Reset in the context menu and select another feature.
|
| 2 |
For Placement, select
Fit. |
| 3 |
From the Type drop-down list, select
Curves as the pattern. |
| 4 |
For 1st Curves, select the curve as shown.
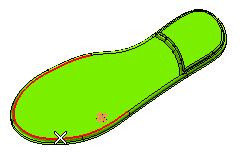
To change the selected curve, right-click on 1st Curves, select
Reset in the context menu and select another curve. |
| 5 |
Click More Options. For
Curve Alignment Mode, select
Curve based. |
| 6 |
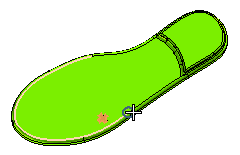
For Curve Start Point, select as shown.
|
| 7 |
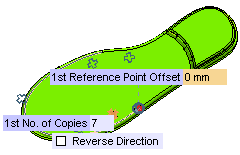
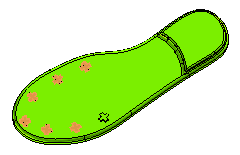
For 1st No. of Copies, enter 7. You can see the preview as shown.
|
| 8 |
Note that the pattern preview shows inconsistency in the location of the instances. This is due to the relative position of the reference point from the pattern feature. To resolve this issue, set the 1st Reference Point Offset value to 60. This will bring the reference point closer to the pattern feature.
Note
By default, the reference point is placed at the curve start point. To move the referece point you can also drag the handle, which is displayed as a red dot. |
|
| 9 |
Click  or or  to confirm your selections and create the curve based pattern. to confirm your selections and create the curve based pattern.
Click  to discard your changes. to discard your changes. |


 or
or  to confirm your selections and create the curve based pattern.
 to discard your changes.