Creating a constant pattern

To accomplish this task load file "pattern_constant.e3".

After starting the Pattern command, proceed as follows.

1 Click to select the feature that you want to copy.


To change the selected feature, right-click on Base Entities in the selection list, choose Reset in the context menu and select another feature.

2 For Placement, select Fit.

3 From the Type drop-down list, select Curves as the pattern.

4 For 1st Curves, select the curve as shown.


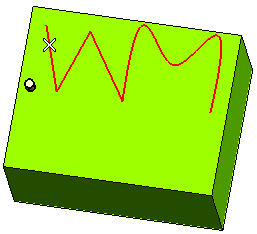
To change the selected curve, right-click on 1st Curves, select Reset in the context menu and select another curve.

5 Click More Options. For Curve Alignment Mode, select Constant.

6 For Curve Start Point, select as shown.


7 For 1st No. of Copies, enter 25. You can see the preview as shown.


If required, specify the 1st Reference Point Offset value or drag the handle to move the reference point to a new location along the curve.

8 Click or to confirm your selections and create the constant pattern.


Click to discard your changes.
 
Note
While creating a constant pattern, if you select Fixed as the Placement option, the Snap on endpoints check box is displayed in More Options. Check this box to create the pattern by taking only the reference of entity end points constituting the selected curve. You cannot specify the number of copies in the pattern more than the endpoints available in the selected curve.