To create a detail view, start the Detail View command and proceed as follows:
1 | Select a reference point. |
2 | Specify the Zoom and Name of the detail, as necessary. Select the Closed Boundary check box to create the detailed view with a closed boundary. (Note: The default scale and boundary setting are controlled from the Drawing View - Miscellaneous category of the Options/Properties dialog box). |
3 | Click on a reference point in the view from which you want to extract the detail view.![]() |
4 | From the Boundary drop-down list, choose the type of boundary and then define it:
|
5 | The program quickly calculates the view and displays a preview image of the view, attached to the cursor. The program prompts you to enter the view origin. Click to position the view.
|
Note
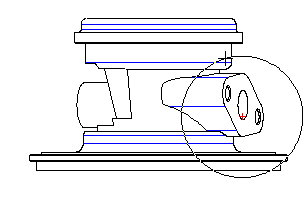
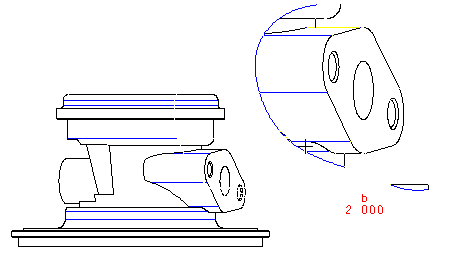
The default detail view scale is controlled by the Zoom: value on the Drawing View - Miscellaneous category of the Options/Properties dialog box. Other factors which affect the appearance of the view, such as the visibility of its view name and the visibility of specific types of entities, are controlled from the various categories under Drawing of the Options/Properties dialog box. After you create a detailed view, you can change many of these properties from the various categories of the Drawing View. After closing the Detail View command — you can redefine the existing detail view, just by right-clicking on it or on its icon in the Drawing Structure and selecting Modify Detail View from the context menu. |
Closed or open detail boundaries You can create detail views with either closed or open boundaries. The boundary condition is controlled, both for creation and editing, by the Closed boundary check box in the Drawing View - Miscellaneous category of the Options/Properties dialog box.
|