Creating an Auxiliary View

1  When you start the Auxiliary View command, you are prompted to select a line in the reference view.


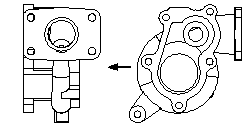
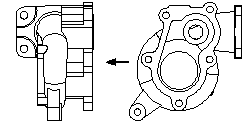
Click to select a line in the view from which you want to create the auxiliary view.

2 The program quickly calculates the view.


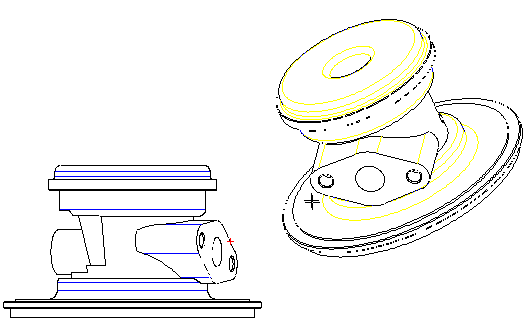
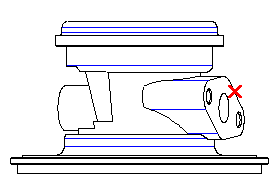
It displays a preview image of the view, attached to the cursor. Note that the auxiliary view is aligned with the view from which it is derived, unless the Align to main check box is cleared on the Drawing View - Miscellaneous category.

3 The program prompts you to enter the view origin.


Click to position the view.

Note

The scale of the auxiliary view always matches that of the view from which it was derived. If you change the scale of the main view, the derived views also change. Other factors which affect the appearance of the view, such as the visibility of its view name and the visibility of specific types of entities, are controlled from the various categories under Drawing of the Options/Properties dialog box.

After you create a detailed view, you can change many of these properties from the various categories of the Drawing View.


Note on creating views

The view is created in accordance with the convention selected under Projection mode on the View Attributes category of the Options/Properties dialog box. Select one of the following:

  • First Angle


  • Third Angle


The First Angle projection is the standard ISO convention while the Third Angle projection is the ANSI standard.