| 1 |
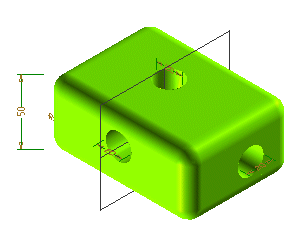
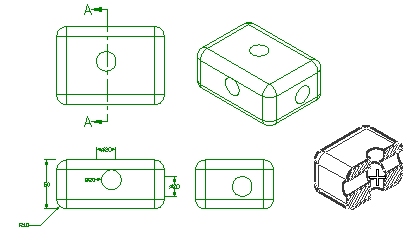
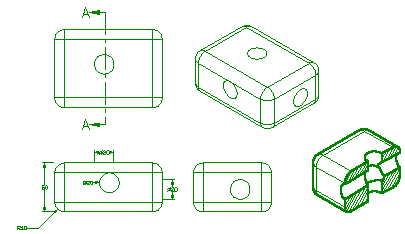
After starting the Custom View command, in the Custom view definition dialog box, under Sectioned view, in the Section in
use drop-down list, select the existing section you want to use to create the custom sectioned
view (see Managing Views for a detailed description). The program immediately displays the section
plane in the graphic preview area.

You can use any of the tools in the View orientation area to reorient the view.
You can also reorient the view manually within the preview area, either by right-clicking and
dragging to rotate the view, or by right-clicking to display the shortcut menu and then
selecting any of those commands.
|


