Editing a Partially Broken View

To modify a partially broken view, start the Partial Break on View/Section command and proceed as follows:

1 You are prompted to select a partially broken view.

Note that this step is skipped when you have already selected a view.
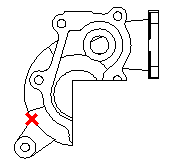
2 From the Reference Point On drop-down list, choose View. Now, you are prompted to select a reference point.
3 Click on a reference point in the view you want to edit.


4 In the selection list, from the Boundary drop-down list choose the type of boundary you want to create, then draw the boundary:
  • Spline — The program prompts you to sketch the boundary. Click to select the spline control points . When finished, end the selection.
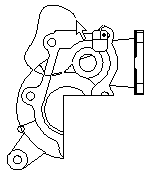


  • Rectangle — The program prompts you to specify the first and second window corners, which define the opposite corners of the rectangle.
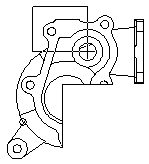


  • Circle — The program prompts you to select an endpoint or a center point. Click to specify the center of the circle, then click again to specify its radius.
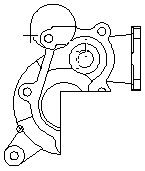


You can add as many portions as you need, within the same view, bounded by different borders.

5  Click OK to apply the command. The program immediately updates the view.

Note

The appearance of the cut line is controlled by the Styles settings on the Break Lines category of the Options/Properties dialog box.

Other factors which affect the appearance of the view, such as the visibility of its view name and the visibility of specific types of entities, are controlled from the various categories under Drawing of the Options/Properties dialog box.

After you create a detailed view, you can change many of these properties from the various categories of the Drawing View.


Related Topics