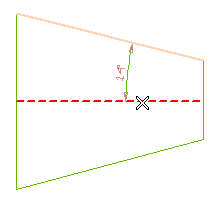
To reset the selection, right-click on the Oblique surface and select Reset. Then, the program resets the selection and allows you to reselect the surface to be dimensioned.
Similarly, tTo reset the symmetric line or surface selection, right-click on Curve in the selection list and select Reset. After the selection is reset, you can make the selection of your choice.
| In case the dimension mode is set to Slope, the Curve selector gets updated to Reference plane. Then you need to select the reference plane from the drawing. |
- Choose the dimension format from the Format drop-down list. For this tutorial, set it to Angle or taper designation.
- Specify the orientation of the text from the Text Orientation drop-down list. For this tutorial, set it to Horizontal to display the text in the horizontal direction.
- Show symbol check box enables you to display or hide the taper/slope symbol:
- When selected, taper/slope symbol is displayed during the preview.
- When not selected, taper/slope symbol is hidden during the preview.
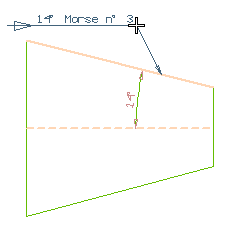
- Select the Show symbol check box in order to display the taper dimension symbol.
For this tutorial, select this check box.

As you can see, the taper dimension has been created.