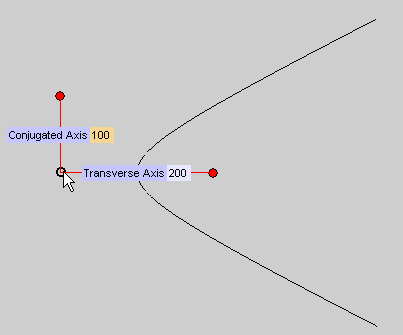
To change the selected point, right-click on Point, select Reset in the context menu and specify the new center.
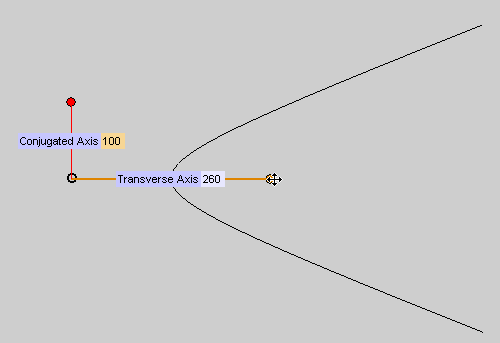
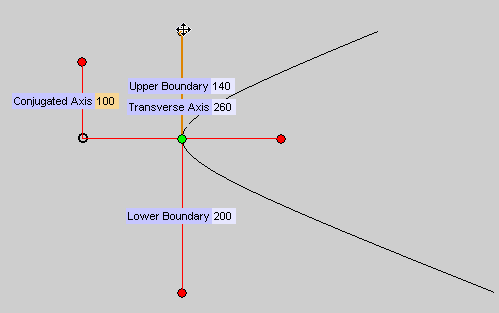 .
. .
. or
or  to confirm your selections and create the curve.
Click
 to discard your changes.
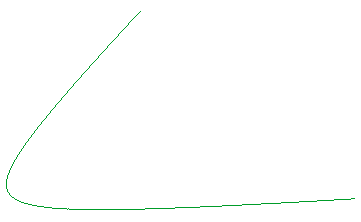
After starting the Hyperbola command, proceed as follows.
| 1 | Specify the center point by clicking or using Snap. To change the selected point, right-click on Point, select Reset in the context menu and specify the new center. |
| 2 | In the Transverse Axis and
Conjugated Axis boxes, type the length of the transverse and conjugated axis respectively, or drag the corresponding handles to the positions defining the desired lengths. |
| 3 | To define the size of the hyperbolic arc, select Boundary under
More Options. The
Upper Boundary and
Lower Boundary mini-dialog boxes are displayed. |
| 4 | In the Upper Boundary mini-dialog box, type the distance between the second endpoint of the hyperbolic arc and the transverse axis. Similarly, in the
Lower Boundary mini-dialog box, type the distance between the first endpoint of the hyperbolic arc and the transverse axis of the hyperbola, or drag the corresponding handles to the desired positions. . . |
| 5 | To rotate the hyperbolic arc, select Rotation under
More Options. The
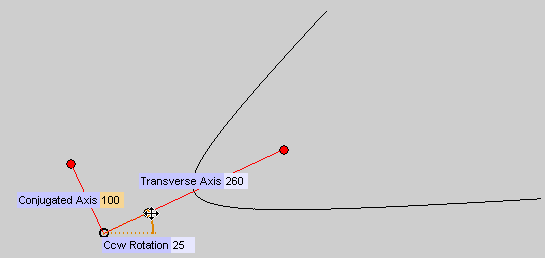
Ccw Rotation mini-dialog box is displayed. |
| 6 | In the Ccw Rotation box (CCW = CounterClockWise), type the angle between the transverse axis of the hyperbola and the X axis of the
Work Plane
coordinate system. . . |
| 7 | Click  or or  to confirm your selections and create the curve. to confirm your selections and create the curve. Click  to discard your changes. to discard your changes. |