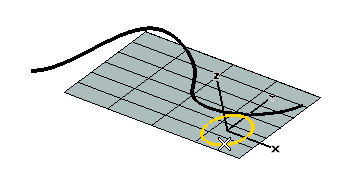
To change the selected curve (for example if you selected the wrong ones by mistake), right-click on Curve in the selection list, select Reset and select another curve.
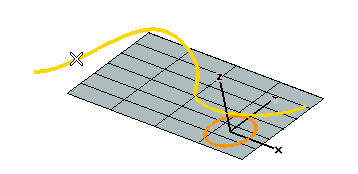
To change the selected curve (for example if you selected the wrong ones by mistake), right-click on Spine in the selection list, select Reset and select another curve.
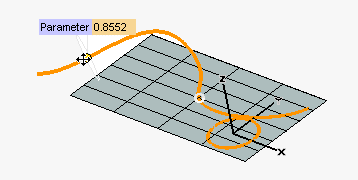
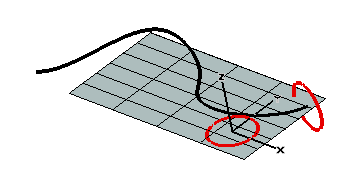
By dragging the handle you can move the curve along the spine to the position you want to place it at. Alternatively, you can specify the corresponding parameter value in the Parameter box.
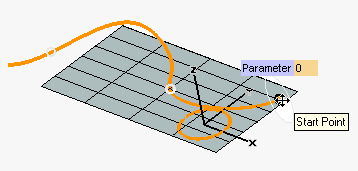
 or
or  to confirm your selections and move the curve.
Click
 to discard your changes.