Once you have started the Section Curve command, you can proceed as follows (please note that you can follow this step-by-step example by loading file: "cv_01_14.e3").
| 1 | In the Entities drop-down list select
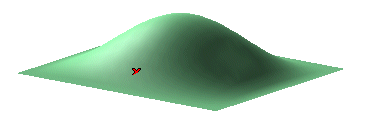
Surfaces. Select the surface you want to create the section curves on and end selection.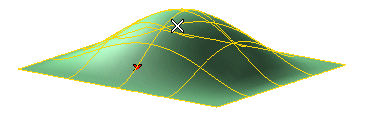 |
| 2 | In the Sampling Mode drop-down list select
Parallel. |
| 3 | In the Plane drop-down list, select the method to be used to define the section plane. For details on the plane definition method, see "
How to define a plane". To go on with this step-by-step example, select Perpendicular to axis & through point. |
| 4 | In the Axis drop-down list, select
Line and click on the X axis of the Work Plane. Then click on the point as shown in the following illustration: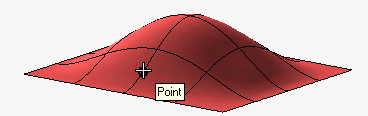 The preview of the section curve is immediately displayed:  |
| 5 | In the No. of sections box, type the number of section curves you want to obtain. A preview of the section curves, along with the Section distance mini-dialog box and the corresponding handle are displayed.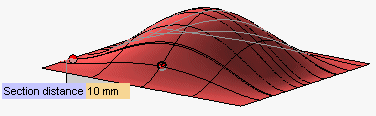 In the Section distance box, type the distance to be established between two subsequent section curves or drag the handle until you get the appropriate value. Section curves are created on the surface in a certain direction starting from the one through the point you specified. To reverse the direction, double-click on the handle: 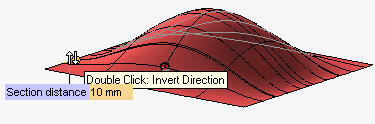 |
| 6 | In the Layer increment and
Color increment boxes, specify the increments to the layer (each subsequent section curve will lay on a newly created layer named M, where M=current layer + increment) and to the color number to be automatically assigned at the creation of each subsequent section curve (the color number is the one displayed in the color palette: see also "
Setting and Modifying the Color"). In this example, we left the Layer increment to its default value (0) and set the Color increment to 1. |
| 7 | Click  or or  to confirm your selections and create the curves. to confirm your selections and create the curves.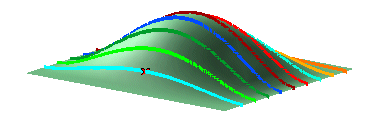 Click  to discard your changes. to discard your changes. |