Creating a Geodesic Curve on a Set of Surfaces
In this illustration you will create a geodesic curve on a set of surfaces. Open the Geodesic.e3 file available in the samples folder of the installation and follow the steps given below.
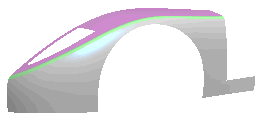
- This model consists of three surfaces, highlighted in different colors, as shown below.

- Start the Geodesic Curve command and select the surface in the sequence of grey, green and purple.
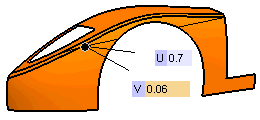
- The geodesic curve is by default created passing through the point you picked to select the first surface. Change the location of this point by entering 0.7 and 0.06 in the U and V mini-dialog boxes, respectively.

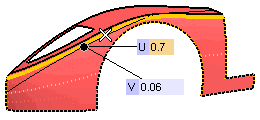
- Select Tangent to curve in the Direction drop-down list, and then select the curve (boundary of the grey surface), roughly at the same location as shown below.

The direction of the geodesic curve at its start point is now the same as that of the tangent to the selected curve at the pick point.
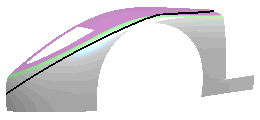
- Apply the command to create the geodesic curve over the three surfaces.


