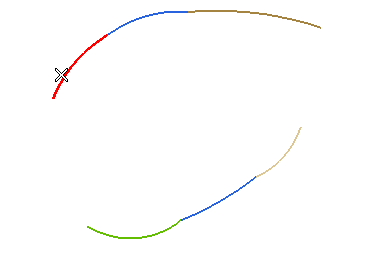
Then right-click and select Select
 Chain from This. Finally, end selection (by right-clicking and selecting Continue or by clicking on Reference curves).
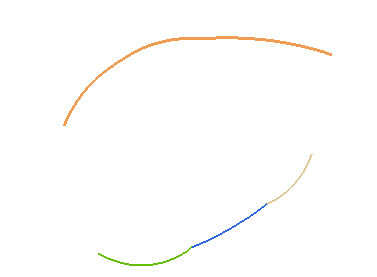
To change the selected chain, right-click and select Reset Current Selection. Then select another chain of curves.
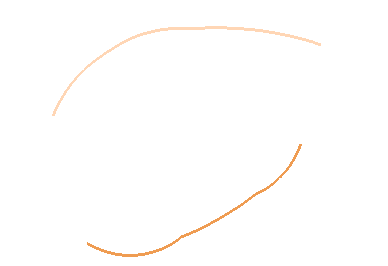
To change the selected chain, right-click and select Reset Current Selection. Then select another chain of curves.
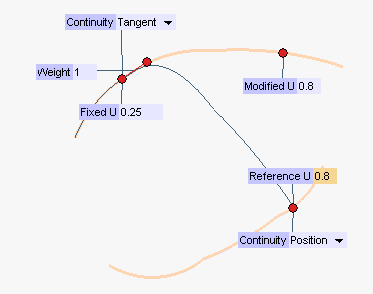
 ) button shows up on top of the selection list. Click it to get a preview of the resulting curves).The program automatically detects the two nearest endpoints of the chains and shows the solution you would get with positional continuity.
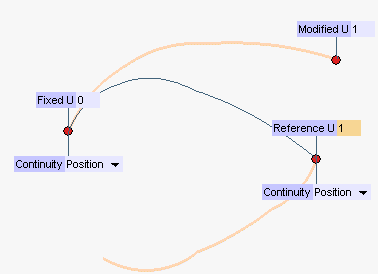
- Appropriate handles are available to move both the endpoints of the contour to be modified (Fixed and Modified) and the Reference endpoint on the reference contour. Instead of using the handles, you can type the contour parameter value into the corresponding boxes.
About the number of resulting curves
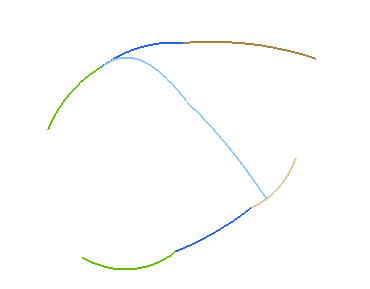
The number of the resulting curves will be the same as the one of the curves belonging to the contour to be modified in the range between the Fixed and the Modified endpoint.
- The Continuity drop-down lists enable you to select the type of continuity to be applied to the curves at the corresponding endpoint.
In the case of the Fixed endpoint on the contour to be modified, the available types are the following (for a detailed description of the continuity types, see Continuity Types):- Free — no continuity condition will be applied
- Position
- Tangency
- Curvature
- Torsion
- Smooth curvature
- Curvature plot curvature
In the case of the Reference endpoint on the reference contour, the available continuity conditions are the same as the above ones (except Free, which is not available).
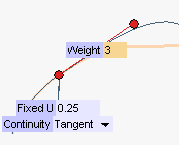
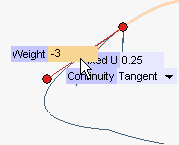
The Weight handle and box enable you to adjust the tangency factor at the joint (supplying negative values will cause the tangent to get the opposite direction, just like double-clicking on the handle).
 or
or  to confirm your selections and create the curve(s).
Click
 to discard your changes.