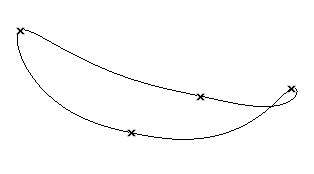
You may need to create a connection curve perpendicular to two points of the given curves:
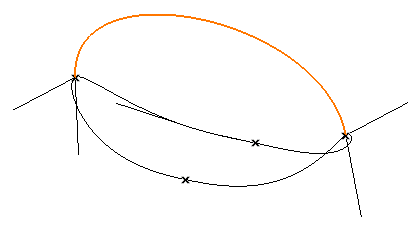
so that you can use the new set of curves as the wireframe structure of a surface to be created. You can proceed as described below.
Given a certain set of curves, like the ones in the following illustration:

You may need to create a connection curve perpendicular to two points of the given curves:

so that you can use the new set of curves as the wireframe structure of a surface to be created. You can proceed as described below.
| 1 | Load file "DesignAids_UC_perp.e3" and start the Perpendicular command.
|
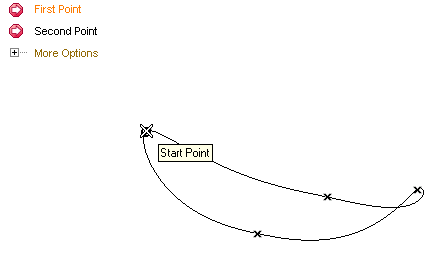
| 2 | Select the First Point as shown in the illustration below:
 |
| 3 | Select the Second Point on the curve at an intermediate position, for example as shown in the illustration below:
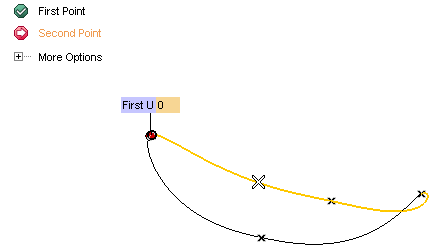 A preview of the of the perpendicular line and of the tangent lines is displayed: 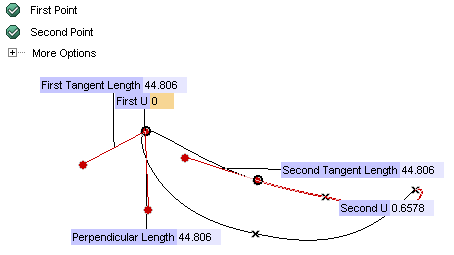 |
| 4 | Select  to create the lines. to create the lines.
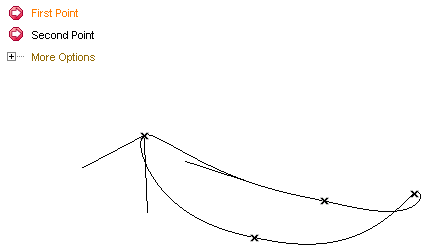 |
| 5 | Now use the Perpendicular command again to create the perpendicular line at the opposite end point of the curve. As the First Point, select the point shown in the following illustration: 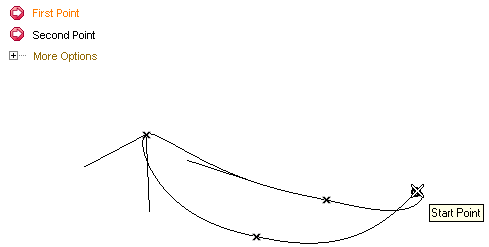 |
| 6 | Select the Second Point on the curve at an intermediate position, for example as shown in the illustration below:
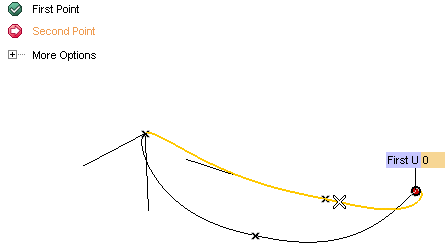 A preview of the of the perpendicular line and of the tangent lines is displayed: 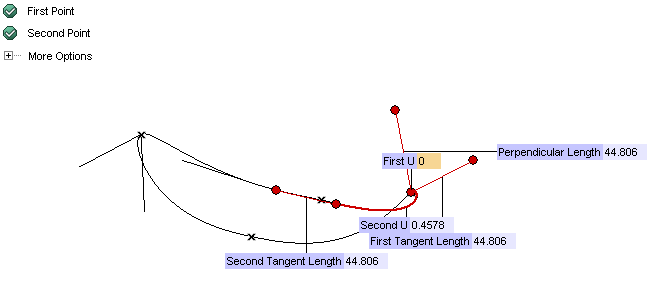 |
| 7 | As you can see, the direction of the perpendicular line at this point is opposite to the one you obtained in step 4. Double-click on it to invert its direction: 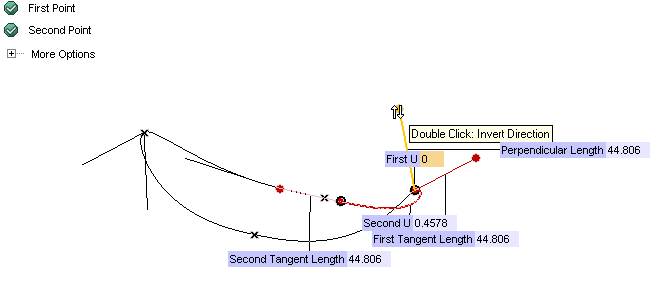 and you will obtain the desired result: 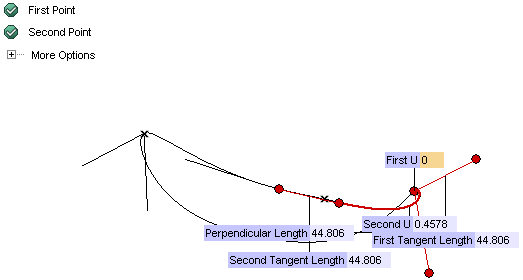 |
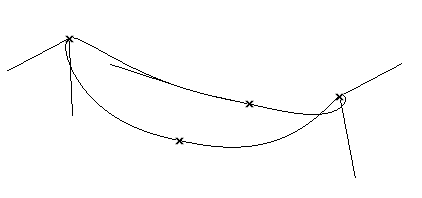
| 8 | Select
 to create the lines and quit the command: to create the lines and quit the command:
 |
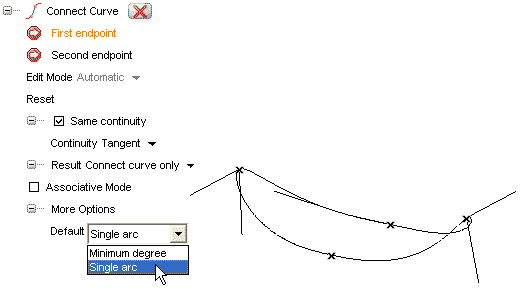
| 9 | Now you can create the blending curve. Start the Connect Curve command. |
| 10 | Set the Continuity drop-down list to Tangent and the Default (under More Options) to Single arc.
 |
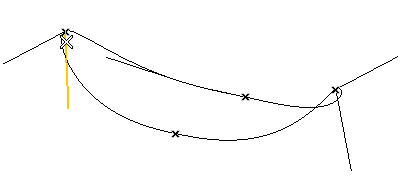
| 11 | Select the first of the two perpendicular lines created in the previous steps by clicking close to its first end point:
 |
| 12 | Select the second of the two perpendicular lines created in the previous steps by clicking close to its first end point:
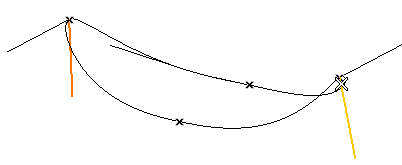 A preview of the blending curve is displayed: 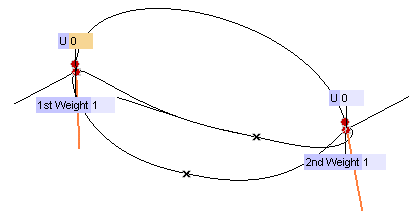 |
| 13 | Click  to create the connecting curve. to create the connecting curve.
 |