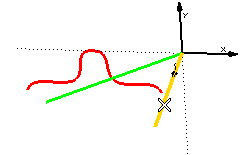
To change the selected spine curve (for example if you selected the wrong one by mistake), right-click on Spine in the selection list, select Reset and perform selection again.
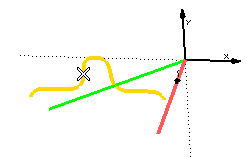
To change the selected boundary curve (for example if you selected the wrong one by mistake), right-click on Boundaries in the selection list, select Reset and perform selection again.
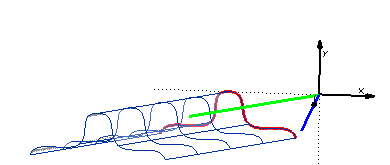
A preview is immediately displayed:
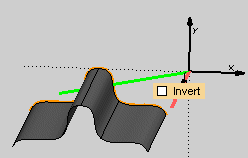
For the surface to extend in the opposite direction, select the Invert check box.
| Selecting chains of curves Please note that selecting a chain of curves as just one boundary is not allowed. If the boundary you want consists of a chain curves, group them into a single profile before starting the Spined Surface command. |
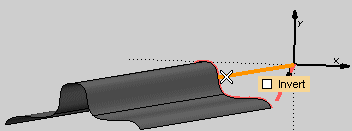
To change the selected drive curve (for example if you selected the wrong one by mistake), right-click on 1st Drive in the selection list, select Reset and perform selection again.
- If the spine is a chain of curves, you can choose whether to obtain a single surface or as many surfaces as the number of curves the spine is made of. Select one of the options in the Surfaces drop-down list. See "Setting the number of resulting surfaces" for further details.
- You can define the orientation of the boundary curve along the spine, by selecting an option in the Orientation drop-down list. See "Setting the Orientation of a Spined Surface" for further details.
- You can define the variation of the surface section, by selecting the options in the drop-down lists:
See "Varying the Section of a Spined Surface" for further details.Variation Enables you to select the type of variation to be applied to the section along the path: Angle to vary the section by rotating it through an angle according to the law specified in the Law drop-down list Scale to vary the section by a scale factor according to the law specified in the Law drop-down list. Law Enables you to select the variation law to be applied to the section Angle or Scale, depending on which of the two has been selected in the Variation drop-down list: Linear to vary the value linearly from the value entered into the First box to the one entered into the Last box Parabolic to vary the value between the values entered into the First, Middle and Last boxes
 or
or  to confirm your selections and create the surface.
Click
 to discard your changes.