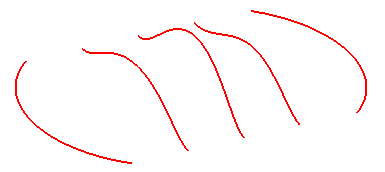
As you can see, the curves in the above model identify a set of parallel curves.
Once you have started the Lofted Surface command, you can proceed as follows (please note that you can follow this step-by-step example by loading file: "Ucurve.e3").

As you can see, the curves in the above model identify a set of parallel curves.
| 1 | To obtain an associative surface, that is an open solid — a Skin — retaining a link to its base curves, so that if you modify such curves the surface will be modified accordingly, check the Associative Mode box. See "
Associative Surfaces (Skins)" for details. |
| 2 | In the Select As drop-down list, select the
Grid option. |
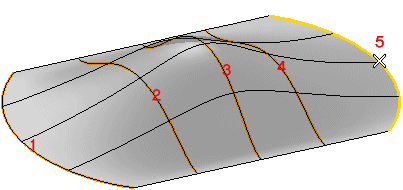
| 3 | Select the curves: To change the selected curves (for example if you selected the wrong ones by mistake), right-click, select Reset Current Selection and perform selection again. Please note that if you select More Options, the Type drop-down list is set to Default, which is the default value. With the previous selection, the current surface type automatically determined is Grid. |
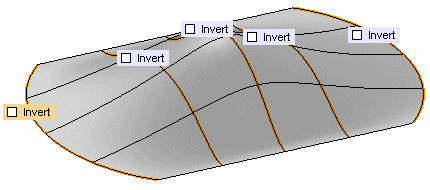
| 4 | Under More Options -
Surface Type Options you can check the
Manual Ordering/Orientation box to display the
Invert check boxes enabling to reverse the orientation of the selected curves. |
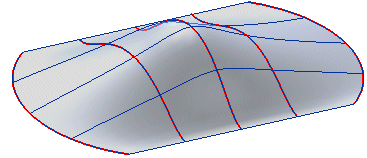
| 5 | Click  or or  to confirm your selections and create the surface. to confirm your selections and create the surface. Click  to discard your changes. to discard your changes. |