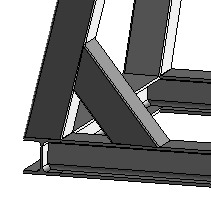
Modifying a Frame Part
In this tutorial you will modify a frame part by trimming. Open the Frame_modify.e3 file available in the Samples folder of your think3 installation and follow the steps given below.
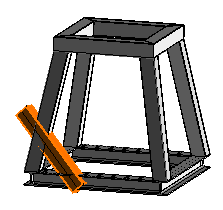
- Click on the Frame part in the Graphics Area or in the Model structure and start the command. For this tutorial the frame part is highlighted in the image below:
- Expand the More Options node to get the node handles on the Frame part. Click on Node 1 as shown in the image below.
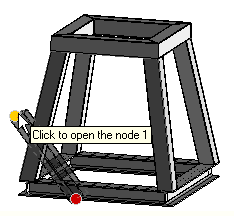
Additional options are displayed in the selection list.
- Under Node 1 select the Trim part 1 check box. Select the By Faces option from the corresponding drop-down list.
- Select the face to which the frame is to be trimmed for the Faces selector as shown in the image below.
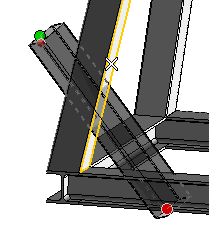
- Click on node 2 on the frame part in the Graphics Area. Additional options of Node 2 are displayed in the selection list.
- Under Node 2 select the Trim part 1 check box. Select the By Faces option from the corresponding drop-down list. Then select the face for the faces selector as shown in the image below:
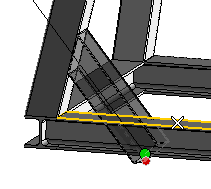
- Click on the Rebuild
 button. The frame part is modified as shown in the image below:
